
One thing I recall and remember enjoying about Christmas morning was being the gift-giver-outer when it was time to open presents. Over the past few years I’ve also noticed that my boys enjoy that job as well and will excitedly retrieve and deliver gifts from under the tree.
However, since they cannot read yet, they need help deciphering the “To:” and “From:” tags.
No big deal, but this year I thought we’d make a minor change in how we label gifts in order to empower them to complete the job unassisted: photo gift tags.
There are tons of options on how to accomplish this so I’ll tell you what I chose and give you a few other ideas too.
MAKING PHOTO GIFT TAGS
Step 1 – Take the Photos
We took quick headshots on my phone and then cropped them into squares; next year I’ll just take the photos as squares and eliminate the cropping step.
Step 2 – Format the Photos
I chose to use Canva.com and upload the photos into a 8.5” x 11” flyer document and add a 3 x 5 photo grid – inserting our photos into the appropriate spots and letting Canva deal with the spacing and formatting.
You could also open up a document in your favorite spreadsheet or writing software (Microsoft Word/Excel; Google Documents/Sheets) then insert a 3 x 5 grid formatted to fill the page and load your photos into that (1.8” x 1.8” photo size works well).
Step 3 – Print the Photos
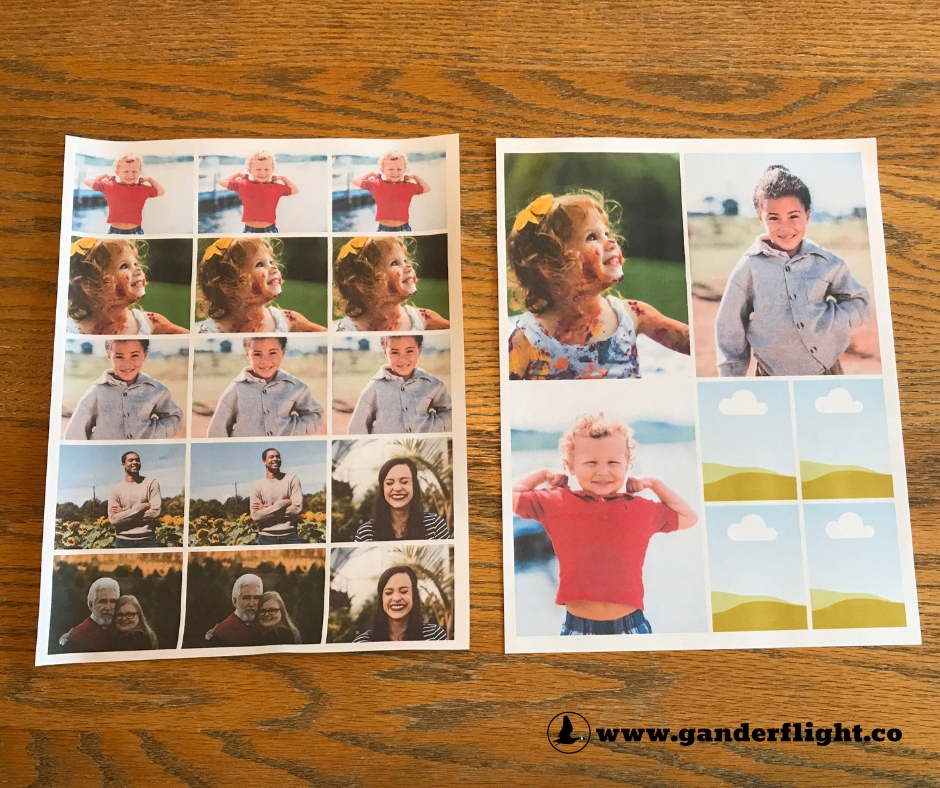

Then I printed them out on my home printer; but color printing is quick and inexpensive at your local office store too.
Side note: you could also do this same project printed out on 4×6 photos, using the above methods or even one of the free online passport photo uploaders – I prefer to use regular paper vs photo paper, even though the quality isn’t as good, because it’s all getting recycled after the gift is unwrapped anyway.
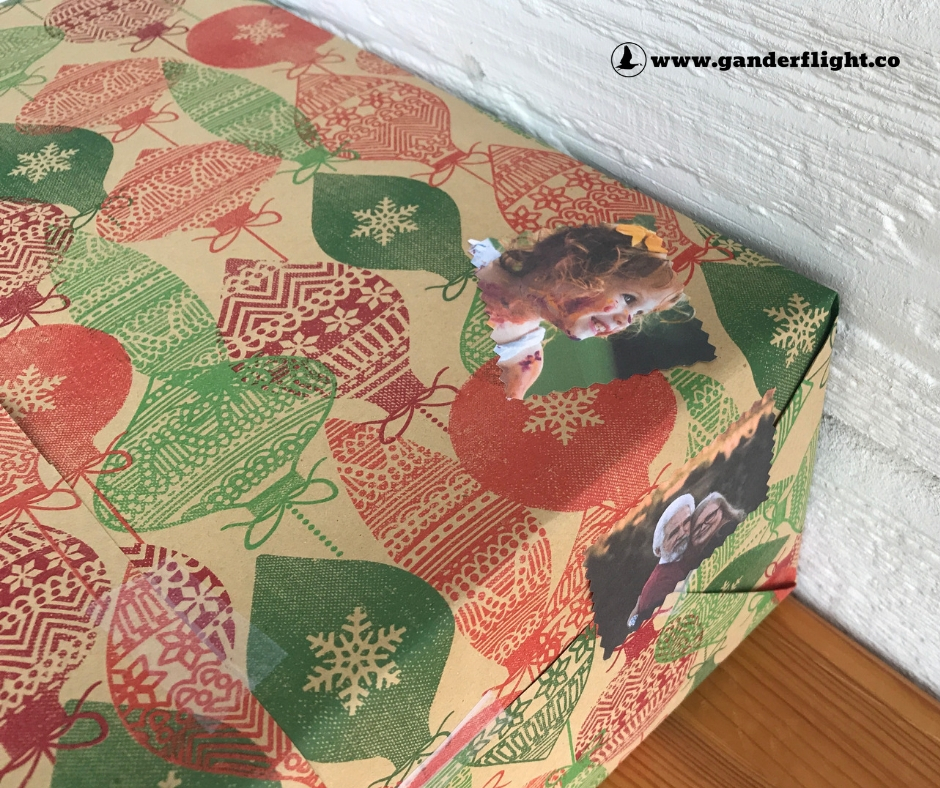
Step 4 – Label the Gifts with the Photos
Use a glue stick to attach the photos to the gifts – if you have it, printable sticker paper would be super useful here!
A few options to differentiate the “To:” and “From:” photos:
• Place the “To:” photos on the top of the gift in the most prominent spot; then place the “From:” photo on the side of the gift.
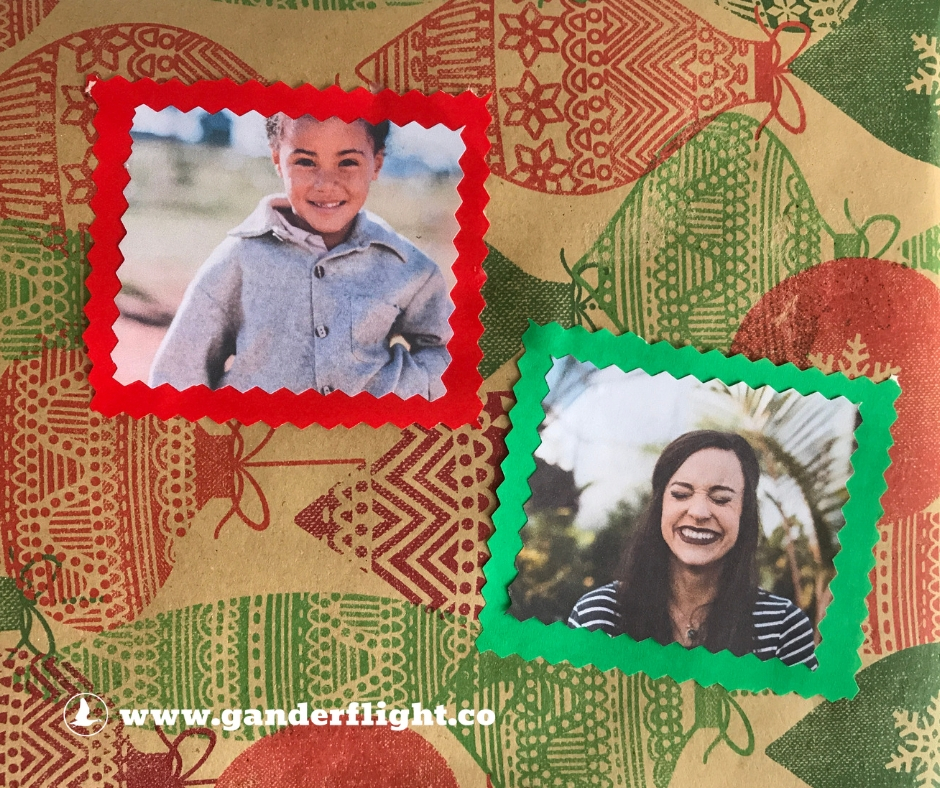
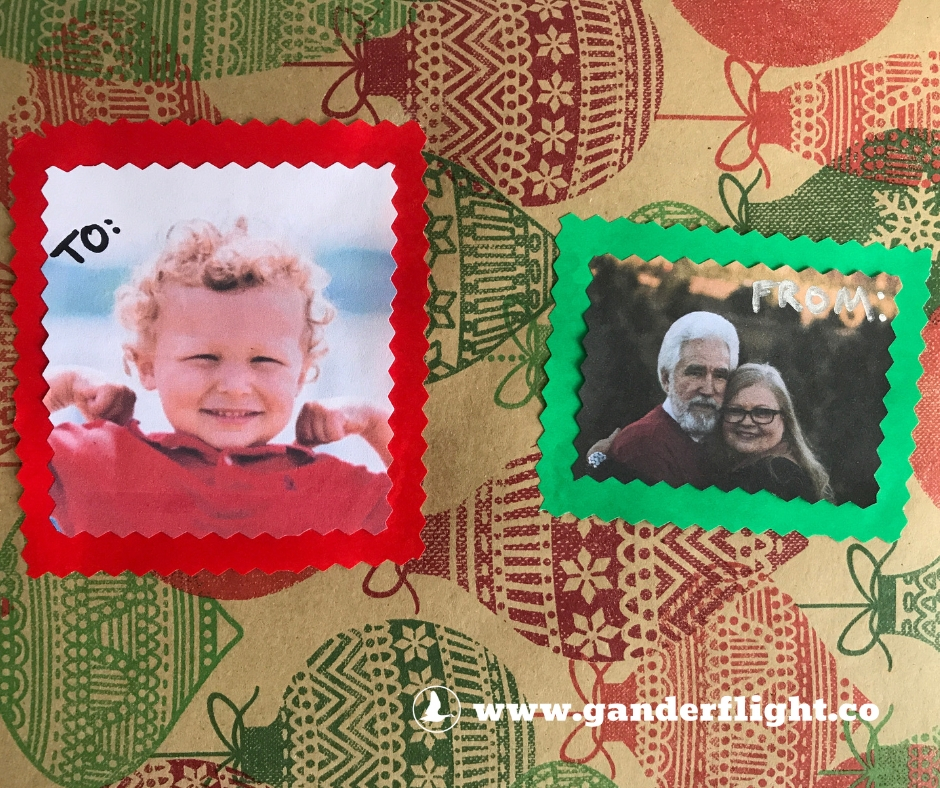
• Frame the photos with background mats and place a red piece of paper under the “To:” and a green piece under the “From:” photos (Blue & silver for Hanukkah; black & green for Kwanzaa; blue & purple for a birthday; insert any color combination that supports the holiday that you’re gift giving for)
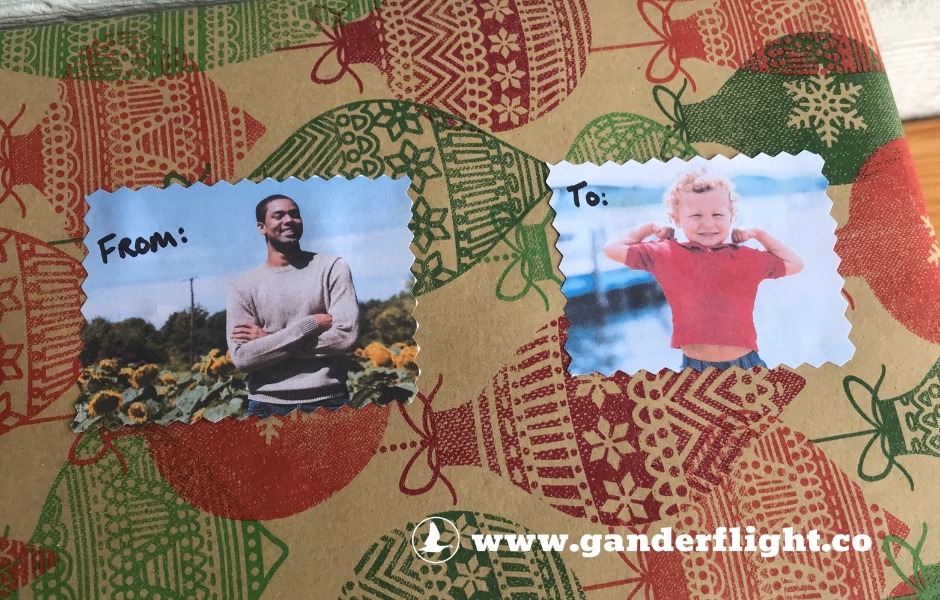
• Use a marker to write “To:” and From:” next to, or on, the photos – this is what we chose to use, the boys are working on recognizing sight words so it fits in perfectly.
• Print different size photos for the “To:” and “From:” – this method would be the easiest for all ages to understand.
• Or use them all in combination!
Step 5: Let the kids work!
This is the fun part: sit back, sip your hot breakfast beverage and watch your kids complete this task entirely on their own.